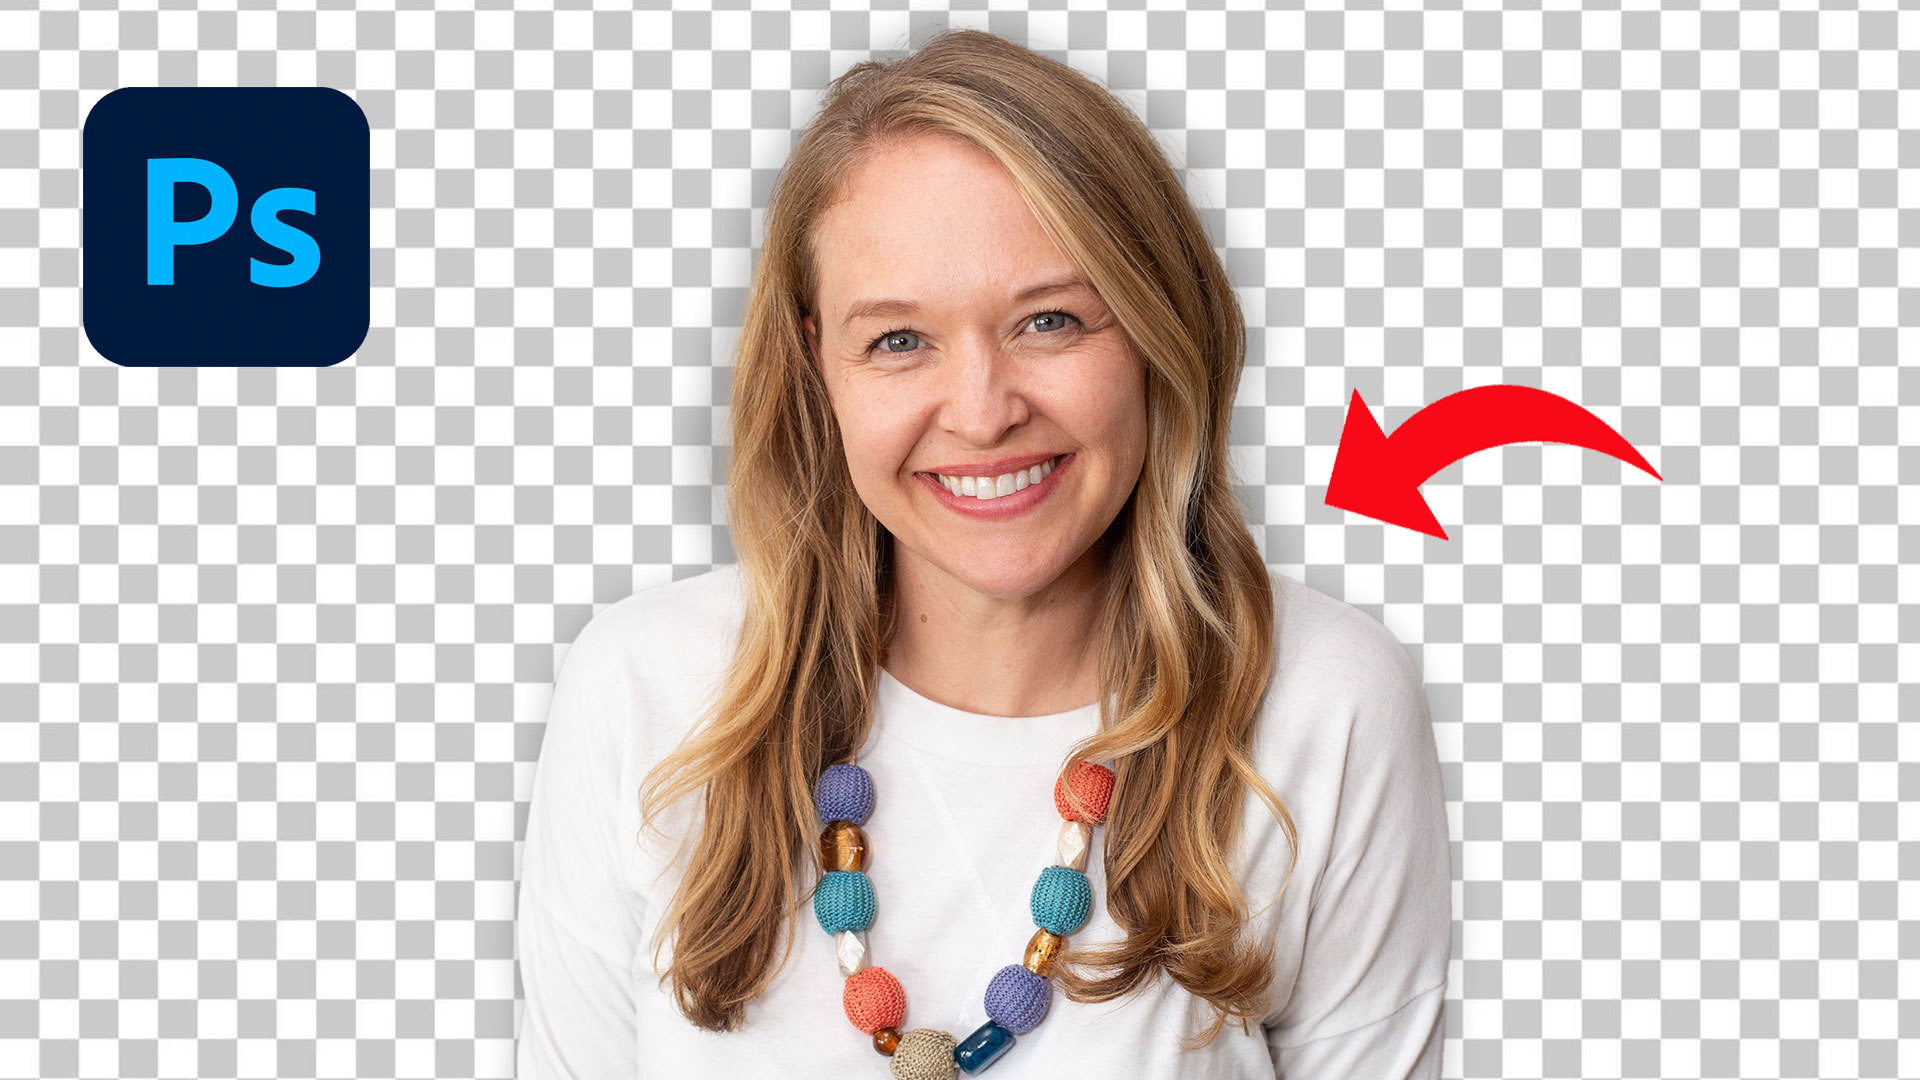
If you’ve ever struggled to cut out an image cleanly, this is going to save you a ton of time. In this guide, you’ll learn how to remove background Photoshop style using a fast, beginner-friendly method that works in just one click.
👉 Before we dive in, check out my free Photoshop course to go deeper after this:.
This is one of those skills every aspiring designer needs—and once you understand it, your workflow becomes so much faster.
Why Learning to Remove Background Photoshop Matters
As a beginner, it’s easy to rely on tools without understanding what they’re doing. But if you want to grow as a designer, you need both speed and understanding.
When you remove background Photoshop images properly, you can:
- Create clean product mockups
- Design social media graphics
- Build professional-looking compositions
- Fix client images quickly
And the best part? Photoshop now makes this incredibly simple.
The One-Click Method (Step-by-Step)
Let’s walk through exactly how to remove background Photoshop style using the built-in tool.
First, open your image in Photoshop. You can either right-click your file and choose Open with Photoshop, or simply drag the image into the workspace.
Once your image is open, look at the bottom of your screen. You’ll see something called the contextual taskbar.
If you don’t see it, go to:
Window → Contextual Taskbar
Now here’s the magic.
There’s a button labeled Remove Background.
Click it once.
That’s it.
Photoshop will instantly remove the background from your image.
What Photoshop Is Actually Doing (Important)
Here’s where most tutorials stop—but this is the part that actually builds your skills.
When you use the remove background Photoshop feature, Photoshop isn’t deleting anything permanently.
Instead, it creates something called a layer mask.
This means:
- Your original image is still intact
- The background is just hidden
- You can bring it back anytime
If you look in your Layers panel, you’ll see the mask applied to your image.
Want your background back?
Just right-click the layer mask and choose Delete Layer Mask.
This is why understanding the process matters—it gives you control.
Saving Your Image the Right Way
Once you’ve removed the background, the next step is saving your file properly.
This depends on what you need.
If you want a transparent background, you should save your file as:
- PNG
- Photoshop (PSD)
If you save as a JPEG, Photoshop will automatically add a white background.
So if your goal is transparency, always choose PNG.
To save:
- Go to File → Save As
- Choose your file format
Simple—but very important.
Common Beginner Mistakes (Avoid These)
Even though this is a one-click tool, there are still a few things to watch out for.
First, don’t assume the result is perfect. Always zoom in and check edges.
Second, don’t delete your background permanently. Use layer masks so you can adjust later.
Third, don’t export incorrectly. Saving as JPEG when you need transparency is one of the most common beginner mistakes.
Fixing these small issues will instantly make your work look more professional.
When to Use Background Remover vs Manual Selection
The one-click remove background Photoshop tool is perfect for:
- Quick edits
- Clean subject separation
- Simple compositions
But for more complex images (like hair details or intricate edges), you may still need manual refinement.
Think of this tool as your starting point, not always the final step.
Final Thoughts
Learning how to remove background Photoshop style is one of the fastest ways to improve your workflow as a beginner designer.
It’s quick, powerful, and once you understand layer masks, you’re no longer just clicking buttons—you’re making intentional design decisions.
If you want to keep improving, start practicing this on different images and pay attention to the details.
And if you’re serious about getting better at design, don’t stop here.