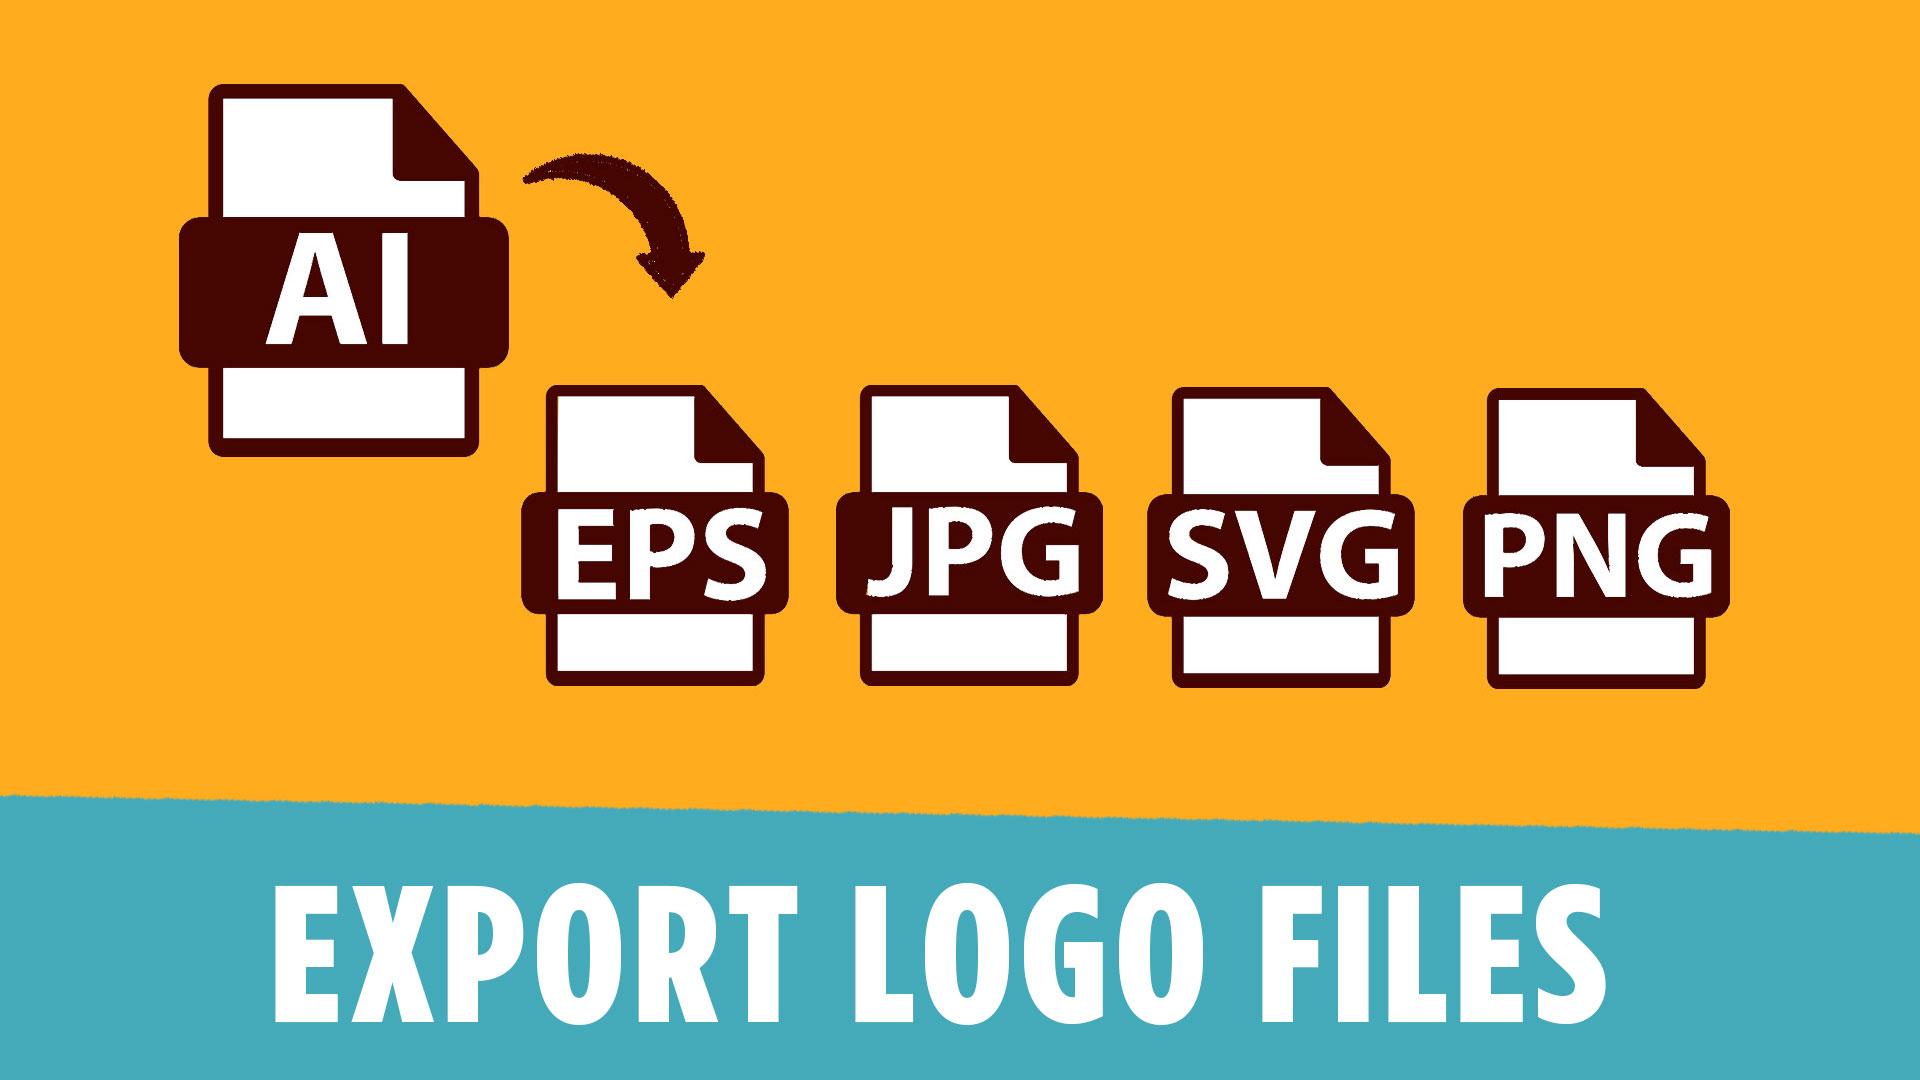
If you’ve ever felt confused about how to export logo files for clients, you’re not alone. This is one of the most common struggles for beginner designers—and it’s also one of the fastest ways to look unprofessional if done wrong.
Before we dive in, grab the Logo Export Cheat Sheet + Template to follow along:
https://cryestudio.systeme.io/logoexporttemplate
This guide will walk you through the exact process step-by-step so you can confidently deliver clean, organized, and usable logo files every time.
Why Learning to Export Logo Files Matters
Exporting isn’t just the final step—it’s part of your design work.
If you send the wrong file types, incorrect color modes, or poorly organized folders, your client will struggle to use the logo. That leads to confusion, back-and-forth emails, and lost trust.
When you learn how to export logo files properly, you instantly stand out as a professional.
You’re not just giving a logo—you’re delivering a complete system your client can actually use.
Step 1: Prepare Your Logo Before Export
Before you even think about exporting, you need to clean up your file.
Start by outlining all strokes. This ensures that if the logo is resized later, nothing breaks or scales incorrectly.
Next, convert all text into outlines. This removes any dependency on fonts so your client won’t run into missing font issues.
Think of this step as “locking in” your design so it behaves exactly as intended, no matter where it’s opened.
Step 2: Check Your Colors Carefully
One of the easiest mistakes to make is using slightly different versions of the same color.
It might look fine at first glance, but small inconsistencies can cause problems later—especially in branding.
A simple way to fix this is by selecting a color and using “Select Same Fill Color” in Illustrator. This helps you quickly identify mismatched colors across your design.
Take a few minutes to clean this up. It makes a huge difference in the final result.
Step 3: Set Up Your Artboard for Export
Your artboard size directly impacts your exported files.
A good standard is 2000 x 2000 pixels. This gives your client high-resolution files that work across multiple use cases.
If your artboard is too small, your exported files will be limited and may not scale well.
Also, name your artboard clearly—something like “full color.” This naming will carry into your exported file names and keep everything organized.
How to Export Logo Files for Web (RGB)
Now let’s get into the actual export process.
For web use, your document should be set to RGB color mode. This ensures colors display correctly on screens.
From there, use Illustrator’s Export for Screens feature.
The key file types to include are:
- JPEG
- PNG
- SVG
Each serves a different purpose.
JPEG is great for general use. PNG supports transparency. SVG is scalable and perfect for websites.
Keep everything organized by placing these in a clearly labeled folder like “Web RGB.”
This is where most beginner designers start to understand how to export logo files properly—by matching file types to real-world usage.
How to Export Logo Files for Print (CMYK)
For print, things change.
You’ll need to switch your document to CMYK color mode. This ensures accurate color reproduction when printed.
Once that’s done, export again using Export for Screens.
This time, include:
- JPEG
- EPS
- AI (original file)
You don’t need PNG or SVG here because those are web-focused formats.
Place these in a separate folder labeled “Print CMYK” to keep everything clean and easy to navigate.
Organizing and Delivering Files Like a Pro
This is where you really elevate your professionalism.
Instead of sending random files, organize everything into clearly labeled folders:
- Web RGB
- Print CMYK
Use consistent naming with a prefix like the client’s name.
Once everything is ready, compress the folder into a ZIP file before sending.
This makes it easy for your client to download, store, and share the files.
Small details like this build trust and make your workflow feel polished.
Final Thoughts
Learning how to export logo files is one of those skills that seems small—but it has a massive impact on how clients perceive you.
When done right, it shows you understand not just design, but real-world application.
If you follow this process—preparing your file, checking colors, choosing the right formats, and organizing everything—you’ll deliver work that feels professional every time.
🎁 FREE RESOURCES FOR DESIGNERS
👉 Try Canva Pro free for 30 days → https://partner.canva.com/kOARLL
☕️ Start your 7-day free Adobe Creative Cloud trial → https://adobe.prf.hn/click/camref:1101lKN6K
🎨 Shop my favorite design & creator tools → https://amzn.to/4tAYQwN
Logo Design Workbook — https://cryestudio.systeme.io/logo_design_workbook
Logo Export Cheat Sheet + Template — https://cryestudio.systeme.io/logoexporttemplate