
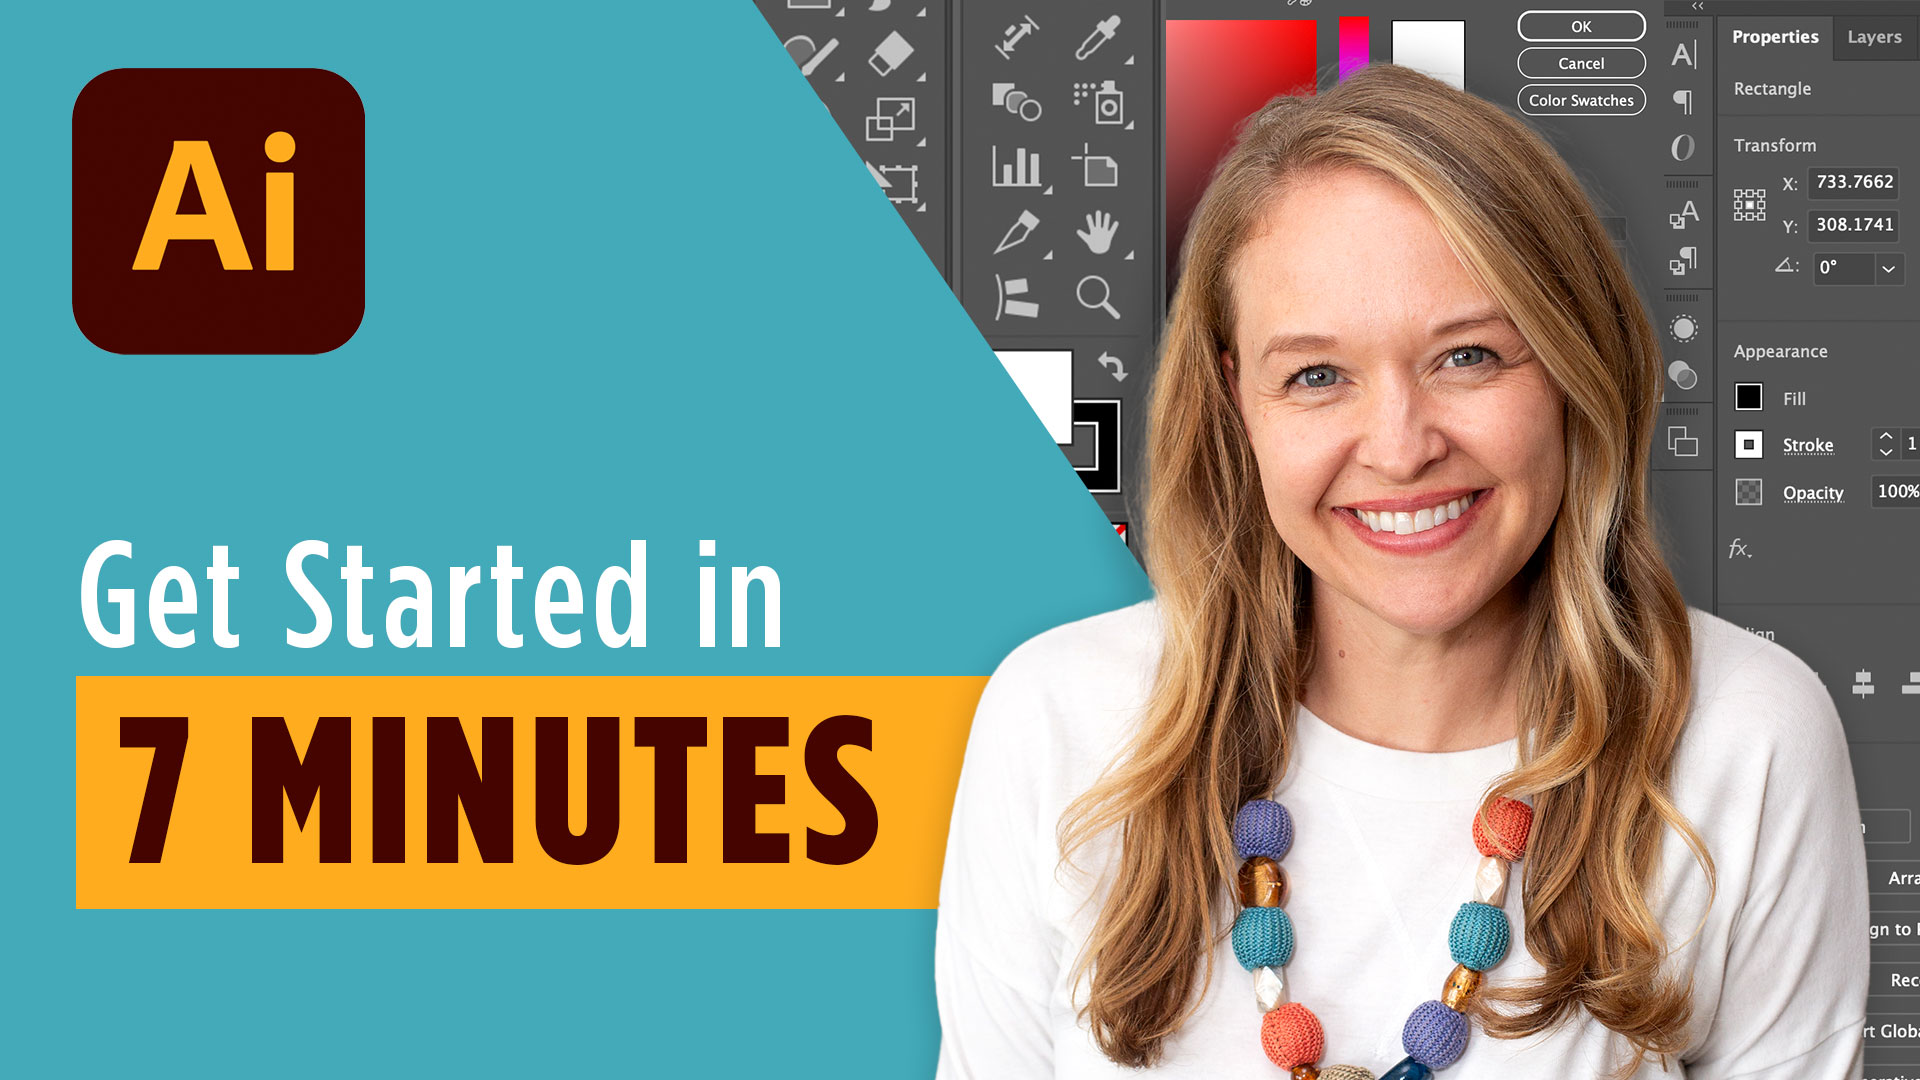
If you’ve ever opened Adobe Illustrator and felt a little overwhelmed by all the buttons, panels, and tools staring back at you, you are absolutely not alone. The good news is that once you understand the basic layout of the Adobe Illustrator interface, everything else starts to click into place. Haven’t tried Illustrator yet? You can start a free 7-day Adobe Creative Cloud trial here and follow along as we go.
Getting to Know the Adobe Illustrator Interface
Before you design a single thing, it helps to get comfortable with the Adobe Illustrator interface itself. When you first launch the program, you’ll land on the home screen. This is where you’ll see recent projects if you’ve used Illustrator before.
The button you really need, though, is the New File button in the top left corner. Click it, and you’re on your way to building your very first document.
Setting Up Your New Document
Once you click New File, you’ll see a window full of presets for web and print projects. Pick whichever matches your project, then head over to the Preset Details panel on the right to name your file and adjust the size.
A couple of quick tips worth remembering: anything digital or web-based should use RGB color mode, while anything headed to a printer should use CMYK. Likewise, web projects use 72 PPI resolution, but print projects need a much higher 300 PPI for crisp, clean results.
Once everything looks good, hit Create, and you’re officially in your workspace.
Why Your Workspace Setup Matters
Before diving into actual design work, it’s worth taking a moment to organize your workspace. This refers to all the tools and panels surrounding your canvas, and yours might look totally different depending on past use.
Head up to Window > Workspace to browse presets. The Essentials workspace is a great starting point for beginners, while more advanced users (like the person behind this tutorial) often prefer the Typography workspace.
If a panel ever goes missing or gets shoved off to the side, that same Window > Workspace menu lets you reset everything back to default in just a couple of clicks.
Exploring the Toolbar in the Adobe Illustrator Interface
On the left side of your screen sits the toolbar, arguably the most important part of the Adobe Illustrator interface for actually creating artwork. Click and hold any tool to reveal even more hidden tools underneath it.
You’ll find a Type Tool for adding text, Shape Tools for ellipses, stars, and rectangles, and the all-important Pen Tool for drawing custom shapes and curves. Once you draw something, the Selection Tool and Direct Selection Tool let you move shapes around or adjust individual points.
The Properties Panel and Your Artboard
On the right side of the screen, you’ll find the Properties panel. This panel is dynamic, meaning it changes based on whatever you currently have selected on your artboard.
Select a shape, and you’ll instantly see its size, fill color, and stroke options, all editable right there in the panel. This is also where you’ll adjust typography, alignment, and positioning as your design comes together.
The white space in the center of your screen is the artboard, essentially your page. Anything placed inside it exports as part of your final design, and Illustrator lets you keep multiple artboards inside a single file instead of juggling separate documents.
A Few Time-Saving Shortcuts
A handful of shortcuts make navigating the Adobe Illustrator interface so much smoother. Hold the spacebar to grab and pan around your artboard, or use Command/Control + Plus or Minus to zoom in and out.
And if you ever make a mistake (we all do), Command + Z or Edit > Undo will save the day every time.
Ready to Start Designing?
That’s really all it takes to feel comfortable navigating the Adobe Illustrator interface. With just a handful of tools and panels, you can start bringing your design ideas to life right away. If you’re ready to dive in further, grab some free design resources below or try one of the recommended tools to make your creative process even easier.