
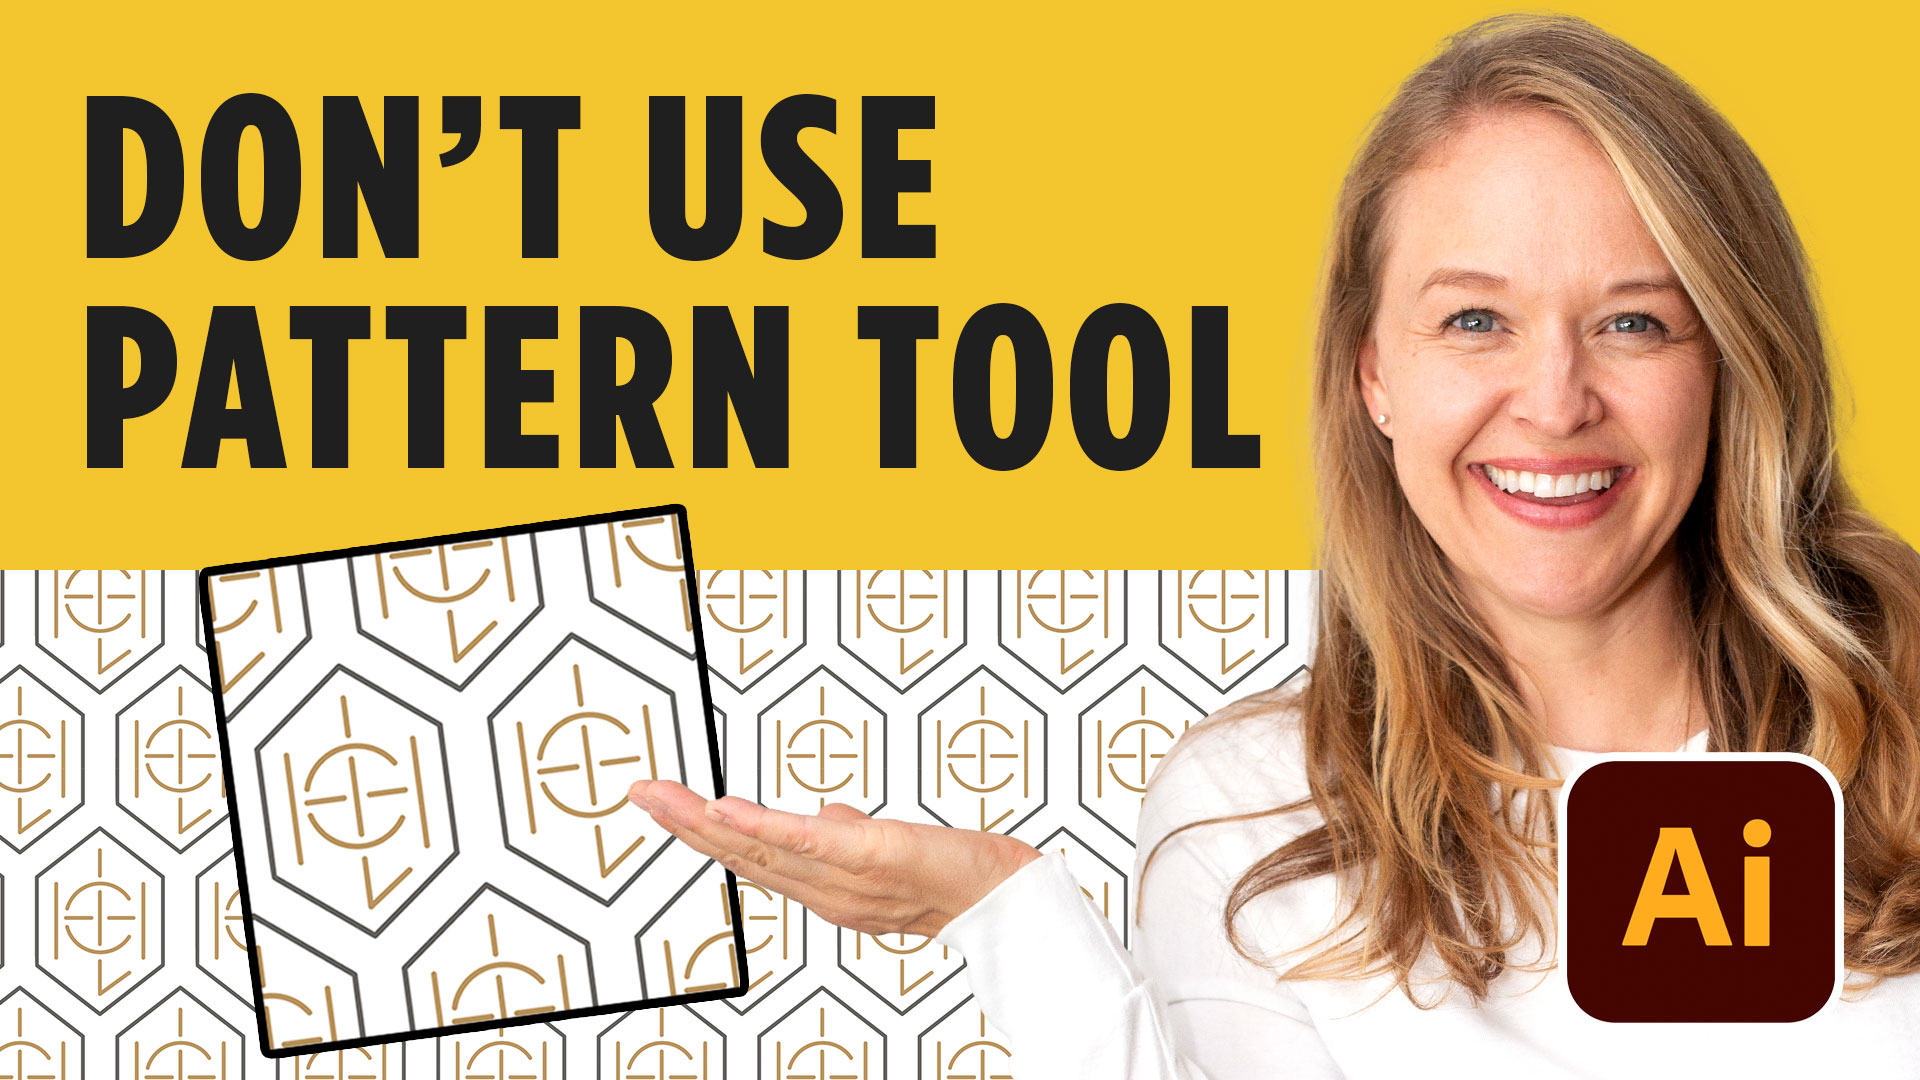
Meta description: Learn how to create a seamless brand pattern in Adobe Illustrator, turn it into a reusable pattern swatch, export it, and apply it to realistic brand mockups.
A logo is only one piece of a brand identity. One of my favorite ways to make a brand feel more complete is to take an element from the logo and turn it into a custom repeating pattern. In this tutorial, I’ll show you how to create a brand pattern in Adobe Illustrator step by step. If you’re working on your own branding project, you can also grab my free Logo Design Workbook to help you work through the full design process.
[YOUTUBE VIDEO EMBED HERE]
Why Brand Patterns Make an Identity Feel More Complete
A strong brand doesn’t stop at the logo.
Think about all the places a visual identity might appear: packaging, shopping bags, social graphics, signage, stationery, merchandise, or even interior spaces. A repeating pattern gives you another recognizable visual element you can use across all of those applications.
For this project, I started with an icon from an existing logo and used it as the foundation for the pattern.
This is one of the easiest ways to extend a logo system because you’re not inventing something completely new. You’re taking an existing piece of the identity and finding another way to use it.
How to Create a Brand Pattern in Adobe Illustrator
Start by creating a new square artboard in Illustrator. I used a 200 x 200 pixel artboard, which makes the math for creating the repeat really simple.
Copy the logo element or icon you want to use onto the artboard and make sure the artwork is grouped.
Next, place part of your artwork so that it hangs off one side of the square.
Here’s the important part: anything that extends past one edge needs to repeat in the exact same position on the opposite edge.
Because my artboard is 200 pixels wide, I can select the artwork, right-click, choose Transform > Move, and move a copy exactly 200 pixels horizontally.
Now the artwork will connect perfectly when the pattern repeats.
You can add another copy in the center and use Illustrator’s Align panel to distribute the spacing evenly between the elements.
Then repeat the same process vertically. If artwork hangs off the top of the square, create an identical copy exactly 200 pixels down on the bottom.
The result should look a little strange when you’re staring at the original tile — and that’s okay. Once it repeats, everything will connect together.
Create the Pattern Swatch
Once your artwork is positioned correctly, you need to tell Illustrator exactly where the repeating tile begins and ends.
First, create a square the exact size of the artboard. Mine is 200 x 200 pixels.
Give this square whatever background color you want for your pattern and send it behind your artwork.
Next, copy that square and choose Paste in Place. Remove both the fill and stroke from this second square, then send it all the way to the back.
Your layer order should essentially be:
Your artwork on top, your colored background underneath it, and a transparent square at the very back.
That transparent square defines the boundaries of your repeating pattern tile.
Now comes the fun part.
Open the Swatches panel by going to Window > Swatches. Select the complete pattern tile and drag it directly into your Swatches panel.
Illustrator will automatically create a new pattern swatch.
Draw a large rectangle and click your new swatch to test it. You should now see your artwork repeating seamlessly across the entire shape.
If something looks uneven, don’t worry. Go back to your original tile, adjust the spacing, and create another swatch.
Create Different Color Variations
Once you know how to create a brand pattern in Adobe Illustrator, it’s easy to build multiple versions for your brand system.
For example, you might have one pattern with dark artwork on a light background and another with white artwork on a dark brand color.
You don’t have to rebuild everything from scratch.
Duplicate your original pattern tile, select the logo elements, change their color, and update the background square. Then drag the new version into the Swatches panel to create another pattern option.
Creating two or three approved color variations makes the pattern much more flexible when you begin applying the brand to real-world designs.
Export Your Pattern for Print or Web
Before using the pattern in a mockup, create a larger artboard and fill it with your new pattern swatch.
I typically start around 2000 x 2000 pixels so I have plenty of resolution to work with.
From here, you can also experiment with the scale of the pattern. A larger repeat might feel bold and playful, while a smaller repeat can create a more subtle texture.
For a real client project, you may want PDF or JPEG files for print applications. For digital use, PNG, JPEG, or SVG may work depending on the application.
Just remember to consider your color mode too: RGB for digital applications and CMYK when preparing artwork specifically for print.
Turn Your Pattern Into Realistic Brand Mockups
The final step is where the identity really starts to come to life.
Once I exported my pattern, I applied it to mockups including a bag, coffee mug, and interior wall. In the tutorial, I use reference images along with Adobe Firefly to visualize what the pattern could look like in real-world applications.
Mockups are especially helpful when presenting branding work because they show more than the isolated logo. They help your client — or anyone looking at your portfolio — imagine how the entire visual identity could actually function.
Try experimenting with packaging, signage, stationery, clothing, website backgrounds, or social media graphics.
A simple pattern can completely change how developed a brand identity feels.
If you’re practicing branding or building your design portfolio, try creating your own brand pattern in Adobe Illustrator using an icon, letterform, shape, or detail from one of your existing logos. Then download my free design resources below or try one of my recommended creative tools to keep building your skills.
🎁 FREE RESOURCES FOR DESIGNERS
- 👉 Try Canva Pro free for 30 days → https://partner.canva.com/kOARLL
- ☕️ Start your 7-day free Adobe Creative Cloud trial → https://adobe.prf.hn/click/camref:1101lKN6K
- 🎨 Shop my favorite design & creator tools → https://amzn.to/4tAYQwN
- Logo Design Workbook — https://cryestudio.systeme.io/logo_design_workbook
- Logo Export Cheat Sheet + Template — https://cryestudio.systeme.io/logoexporttemplate