
If you’re learning Adobe Illustrator and want to create clean cutout effects quickly, this tutorial will save you a ton of time. You can also grab free Illustrator resources and tools from CryeStudio Free Resources to help speed up your workflow as you practice.
One of the most useful beginner techniques in Illustrator is learning how to subtract one shape from another. Whether you’re creating logos, badges, icons, or simple graphic elements, knowing how to cut out a shape in Adobe Illustrator is an essential skill.
Why Learning Shape Cutouts Matters
A lot of beginner designers try to manually erase parts of shapes or use complicated masking methods. The problem is that these approaches are slower and often create messy vector paths.
Using the Pathfinder tool is much cleaner and more professional.
Once you understand how to cut out a shape in Adobe Illustrator, you’ll be able to create more polished designs in a fraction of the time. This technique is used constantly in logo design, branding, icon design, and vector illustration.
The best part is that it only takes a few clicks.
The Simple Setup
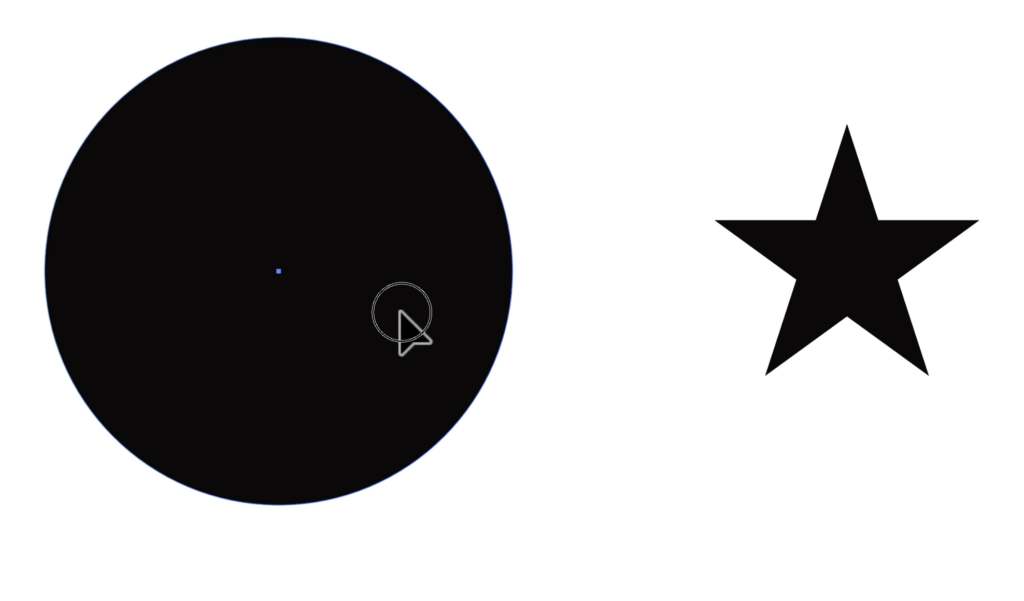
In this tutorial example, we start with two basic shapes: a circle and a star.
The goal is simple. We want the star shape to be removed from the circle so the center becomes transparent.
To do this, position the star directly on top of the circle. The top shape is important because Illustrator uses the top object as the shape that gets subtracted.
This is where many beginners get confused.
If your layers are in the wrong order, the effect will not work correctly. Always make sure the shape you want to remove is sitting above the base shape.
The tutorial also changes the star color to white temporarily. This helps visually separate the shapes before applying the Pathfinder effect.
How to Cut Out a Shape in Adobe Illustrator Using Pathfinder
The easiest way to create this effect is with the Pathfinder panel.
To open it, go to:
Window > Pathfinder
Inside the Pathfinder panel, you’ll see several shape options. The one we need is called Minus Front.
Here’s how the process works:
- Select both shapes
- Open the Pathfinder panel
- Click Minus Front
- Illustrator subtracts the top shape from the bottom shape
That’s it.
After clicking Minus Front, the star is completely cut out of the circle.
If you switch to a transparent background view, you’ll see that the center area is now fully transparent instead of simply colored white.
This is a true vector cutout, which means the design remains scalable and editable without losing quality.

Why Minus Front Is So Powerful
The Minus Front option is one of the most important Pathfinder tools for designers.
It allows you to create complex shapes from simple objects without needing advanced vector skills. Instead of drawing custom paths manually, you can combine and subtract shapes quickly.
This becomes especially useful when designing:
- Logos
- Icons
- Stickers
- Badges
- Social media graphics
- UI elements
- Typography effects
As you continue learning Illustrator, you’ll notice that professional designers use Pathfinder tools constantly to speed up their workflow.
Learning this now gives you a strong foundation for more advanced projects later.
Final Thoughts
Learning how to cut out a shape in Adobe Illustrator is one of those small techniques that makes a huge difference in your design workflow.
It’s simple, fast, and incredibly useful for real-world design projects.
Instead of relying on complicated workarounds, the Pathfinder tool gives you a clean and professional method for creating transparent cutout effects in seconds.
If you’re still learning Illustrator fundamentals, mastering tools like Pathfinder will help you work more confidently and efficiently.
Open Illustrator, experiment with different shapes, and start practicing this technique today. The more you use it, the more natural it becomes.