
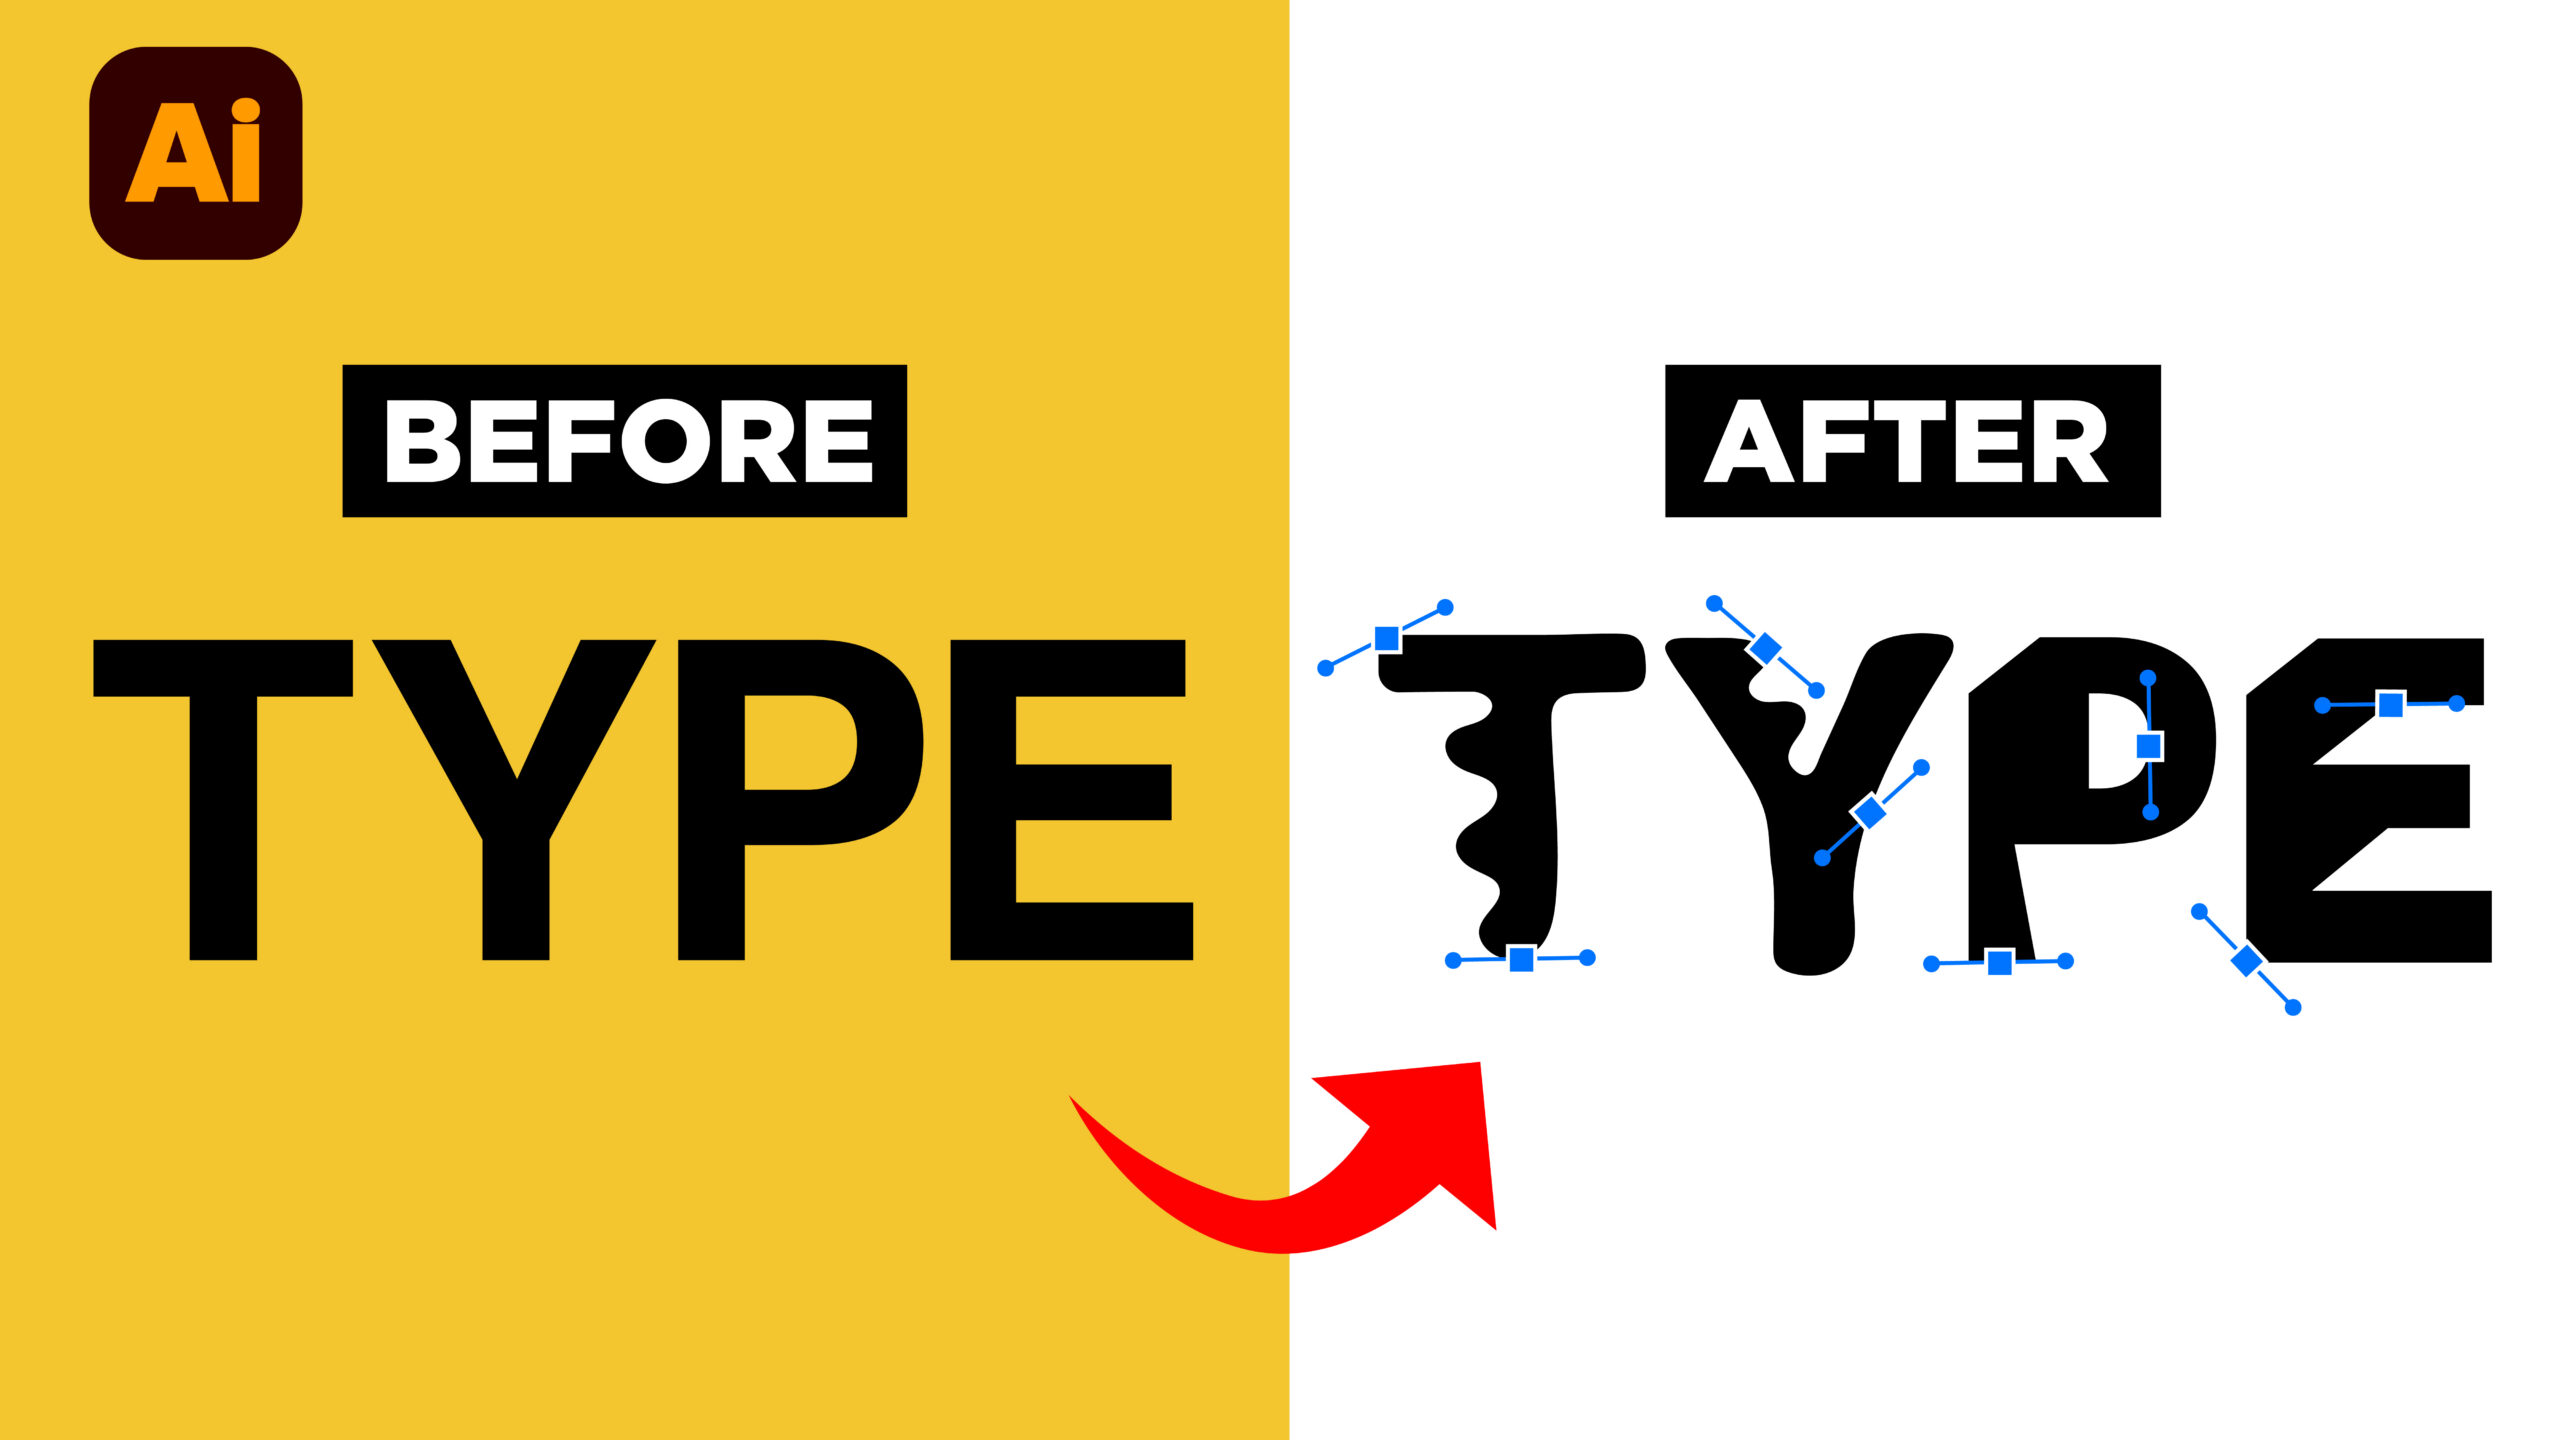
One of the easiest ways to make your design work feel more original is to customize the typography instead of using a font exactly as it comes. If you want to follow along and don’t already have Illustrator, you can start a 7-day free Adobe Creative Cloud trial here: https://adobe.prf.hn/click/camref:1101lKN6K.
In this tutorial, I’m showing you How to Customize Fonts in Adobe Illustrator (4 Easy Tools) using simple techniques that can completely change the personality of a typeface.
The best part? You don’t have to design an entire font from scratch. Small changes to anchor points, shapes, corners, and letterforms can make an existing typeface feel much more intentional.
[YOUTUBE VIDEO EMBED HERE]
How to Customize Fonts in Adobe Illustrator (4 Easy Tools)
Before you start changing anything, you need to outline your font.
If your typography is still live text, Illustrator won’t let you directly edit the individual vector points that make up each letter. Select your type and go to Type > Create Outlines.
This converts your font into vector shapes, which means you can now manipulate the letterforms just like any other vector object.
Once your text is outlined, you’re ready to start experimenting.
1. Use the Direct Selection Tool to Reshape Letters
The Direct Selection Tool is one of the simplest ways to begin customizing typography.
You’ll find it near the top of the Illustrator toolbar, and the keyboard shortcut is A.
With the Direct Selection Tool, you can click into an outlined letter and select individual anchor points. From there, simply move those points around to change the shape.
Even a few small adjustments can make a familiar font like Helvetica feel completely different.
This is a great technique when you want your typography to look unique without dramatically changing the overall structure of the font.
2. Add or Remove Details With the Pen Tool
The Pen Tool gives you even more control over your letterforms.
You can use it to draw new shapes and add them to your typography. For example, adding small shapes to the ends of letters can transform a sans serif typeface into something that feels more like a serif.
You can also use the Pen Tool to add or remove anchor points directly from your outlined typography.
Hover over an existing vector path, add a point where needed, and then use the Direct Selection Tool to reposition it.
These small adjustments give you a lot of flexibility when creating custom logo typography or brand lettering.
3. Reshape Letterforms With the Pencil Tool
The Pencil Tool is another fun way to make typography feel less rigid.
Before using it, double-click the Pencil Tool and make sure Edit Selected Paths is turned on.
Then select a letterform and draw along the outside edge of the shape. Illustrator will adjust the vector path based on the line you draw.
You can use this technique to create more organic shapes, adjust curves, or completely change sections of a letter.
You can also use Illustrator’s corner controls to round sharp edges and create more consistency across your customized typography.
4. Combine and Cut Shapes With Pathfinder
The final tool in How to Customize Fonts in Adobe Illustrator (4 Easy Tools) is Pathfinder.
Pathfinder allows you to add shapes to your letterforms or subtract shapes from them.
For example, you can place circles over parts of your letters, select everything, and use Pathfinder to merge the shapes together.
You can also draw a shape over your typography and use Divide to cut sections away.
After dividing the shapes, use the Direct Selection Tool to remove the pieces you don’t want.
This is especially useful when creating distinctive cutouts, angles, or repeated details across multiple letters.
Small Typography Changes Can Make a Big Difference
You don’t need complicated techniques to create custom typography.
Start with a font you like, outline it, and experiment with moving anchor points, adding new shapes, adjusting curves, and cutting sections away.
The goal isn’t necessarily to make every letter wildly different. Often, a few thoughtful changes are enough to make your typography feel more intentional and unique.
Once you understand How to Customize Fonts in Adobe Illustrator (4 Easy Tools), you can start applying these techniques to logos, brand identities, posters, and other real-world design projects.
If you want to keep building your design skills, download one of my free design resources below or try one of the tools I recommend for your next creative project.
🎁 FREE RESOURCES FOR DESIGNERS
- 👉 Try Canva Pro free for 30 days → https://partner.canva.com/kOARLL
- ☕️ Start your 7-day free Adobe Creative Cloud trial → https://adobe.prf.hn/click/camref:1101lKN6K
- 🎨 Shop my favorite design & creator tools → https://amzn.to/4tAYQwN
- Logo Design Workbook — https://cryestudio.systeme.io/logo_design_workbook