
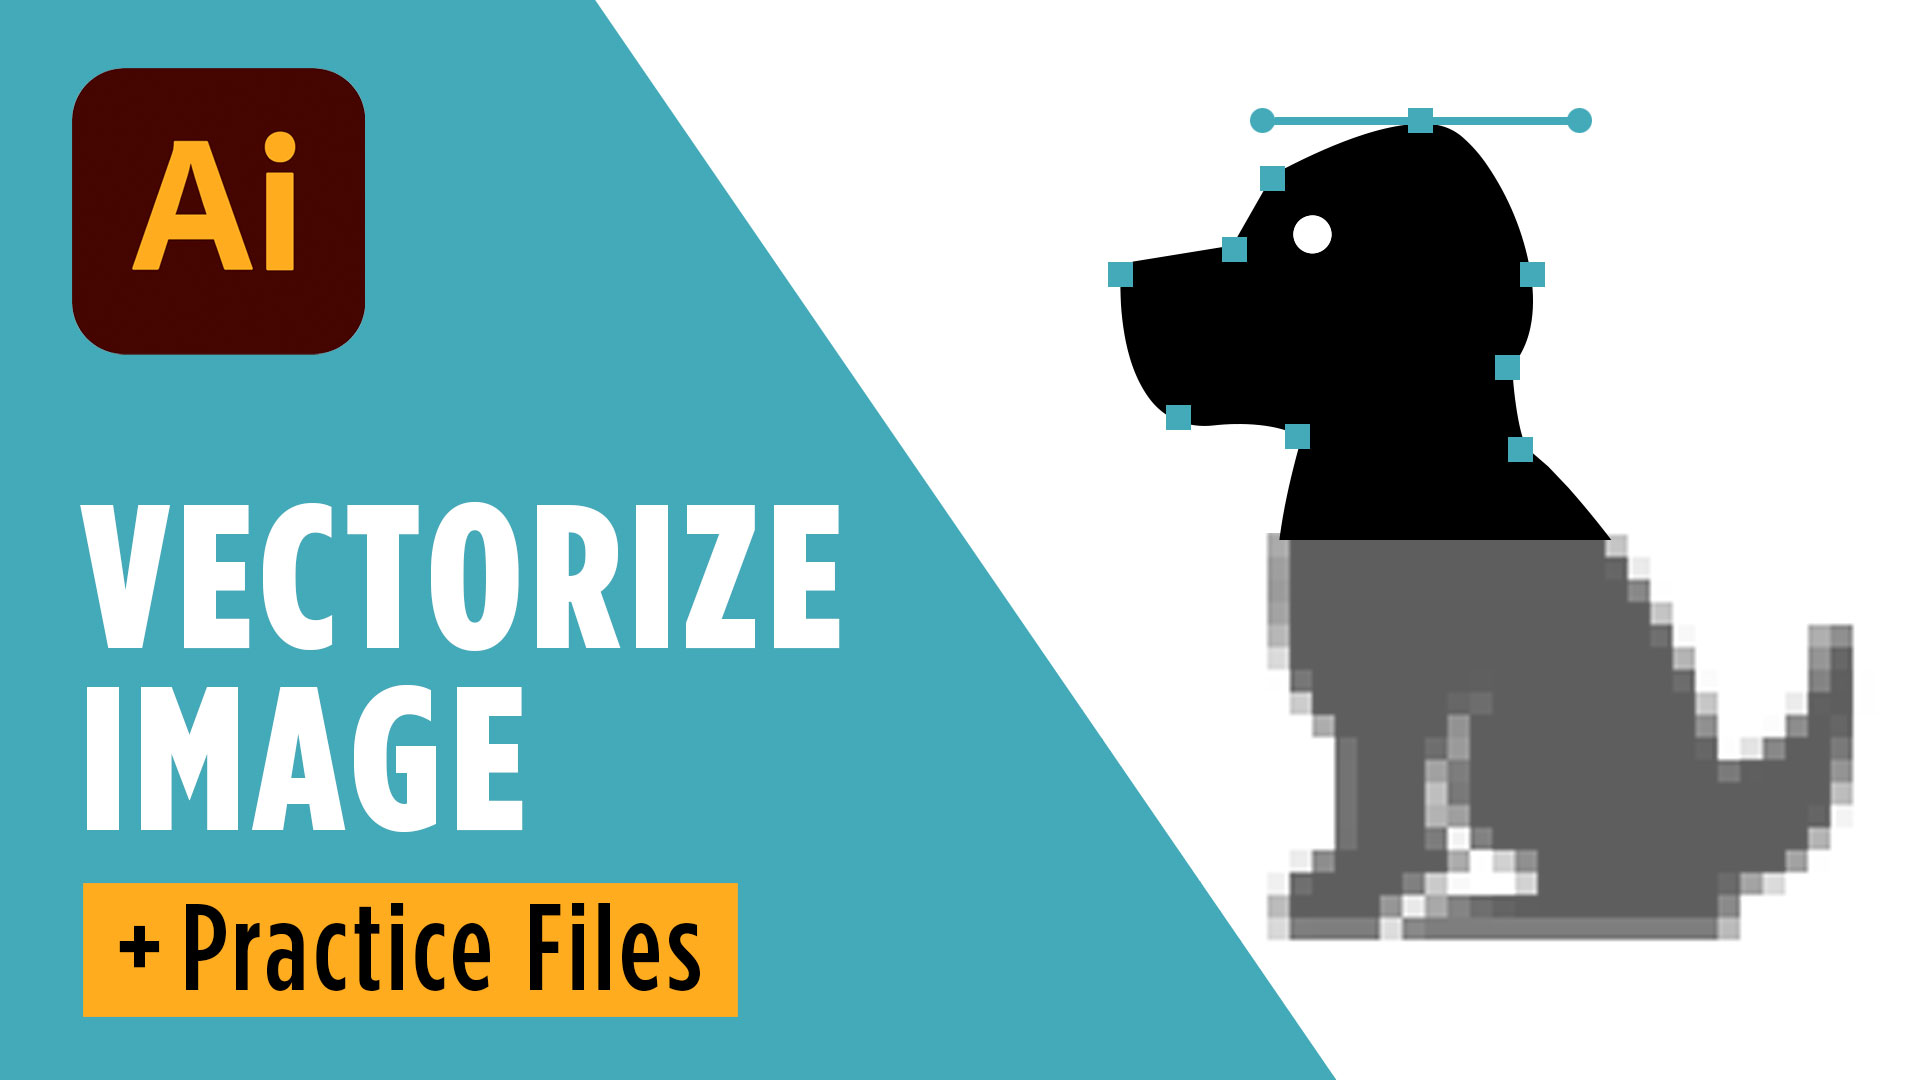
If you’ve ever needed to turn a JPEG or PNG into a scalable vector graphic, Image Trace in Adobe Illustrator is one of the fastest ways to do it. In this tutorial, you’ll learn how to use Image Trace, adjust the settings for better results, and edit your artwork after it’s been converted into vector paths.
If you don’t already have Illustrator, you can start a free 7-day Adobe Creative Cloud trial using the link below and follow along with the free practice files included with this lesson.
Download the free practice files here →
Try Adobe Illustrator free →
[YouTube Video Embed Goes Here]
Whether you’re designing logos, icons, stickers, or illustrations, understanding how Image Trace works can save you hours of manual tracing. Instead of recreating artwork from scratch, Illustrator can analyze your image and automatically generate editable vector paths.
What Is Image Trace in Adobe Illustrator?
Image Trace in Adobe Illustrator is a feature that converts raster images like JPEGs and PNGs into vector graphics. Unlike raster images, vector artwork can be scaled to any size without losing quality.
This makes Image Trace especially useful for logo design, icon creation, vinyl cutting, laser engraving, screen printing, and countless other design projects.
Image Trace works best with simple artwork such as logos, line drawings, sketches, and high-contrast graphics. It can also work with photographs, although the results depend on the image quality and the settings you choose.
Import Your Image
The first step is getting your image into Illustrator.
You can simply drag and drop a JPEG or PNG directly into your Illustrator document. Another option is to choose File > Place and import your image that way.
Once the image is selected, you’ll see the Image Trace button in the Control Bar or the Properties panel.
Clicking Image Trace tells Illustrator to analyze the image and create a preview of your vector artwork.
At this stage, however, your artwork is not yet editable.
Understanding Image Trace Settings
One of the biggest mistakes beginners make is accepting the default Image Trace result.
Instead, open the Image Trace panel to gain much more control over the final artwork.
If you’re tracing simple black-and-white artwork, the default settings often work well.
For color images, you’ll want to experiment with presets and the color slider.
Illustrator includes presets like:
- Three Colors
- Six Colors
- Black and White
- High Fidelity Photo
The number of colors you choose directly affects the amount of detail in your vector artwork.
Fewer colors produce cleaner, simpler vectors with fewer anchor points.
More colors preserve detail but also create significantly more vector paths, making the artwork larger and more difficult to edit.
For beginner projects, keeping the number of colors relatively low usually produces the best balance between quality and simplicity.
Don’t Forget to Expand
One of the most important steps after using Image Trace in Adobe Illustrator is clicking Expand.
Many beginners assume their image has already become a vector after clicking Image Trace.
That’s only a preview.
Clicking Expand converts the preview into actual vector paths that you can edit.
Once expanded, you’ll be able to:
- Edit anchor points
- Move shapes
- Delete unwanted objects
- Change colors
- Modify individual pieces of artwork
Without expanding, none of these edits are possible.
Cleaning Up Your Vector Artwork
After expanding your artwork, take a few minutes to clean it up.
For simple graphics, Illustrator often traces the white background as a separate shape.
You can usually select that outer shape and simply delete it.
If you’re tracing a photograph, you may also want to adjust background colors.
Using Select > Same > Fill Color allows you to quickly select similar colored shapes so you can recolor or remove large sections at once.
This can dramatically improve the final appearance of your vector illustration.
When Should You Use Image Trace?
Image Trace is perfect for many common design tasks.
Some great uses include:
- Converting logos into vector format
- Turning hand-drawn sketches into digital artwork
- Creating SVG graphics
- Preparing artwork for Cricut or laser cutters
- Making scalable illustrations
- Simplifying photographs into stylized vector art
Keep in mind that Image Trace isn’t magic.
The cleaner your original image, the better your final vector will be.
High-contrast artwork with clean edges almost always produces the best results.
Final Thoughts
Learning Image Trace in Adobe Illustrator is one of the quickest ways to speed up your workflow and create professional-quality vector artwork.
Once you understand how presets, color settings, and the Expand command work together, you’ll have much more control over your final designs.
If you’re just getting started with Illustrator, this is a skill you’ll use over and over again for logos, branding projects, illustrations, and print design.
Be sure to download the free practice files so you can follow along step by step, and if you’re ready to dive deeper into graphic design, check out the free resources below or start your free Adobe Creative Cloud trial.
🎁 FREE RESOURCES FOR DESIGNERS
👉 Try Canva Pro free for 30 days → https://partner.canva.com/kOARLL
☕️ Start your 7-day free Adobe Creative Cloud trial → https://adobe.prf.hn/click/camref:1101lKN6K
🎨 Shop my favorite design & creator tools → https://amzn.to/4tAYQwN
Logo Design Workbook — https://cryestudio.systeme.io/logo_design_workbook
Logo Export Cheat Sheet + Template — https://cryestudio.systeme.io/logoexporttemplate
Favorite Logo Design Books + Tools — https://cryestudio.systeme.io/logo-design-resources
Free Guide: 100 Digital Download Ideas — https://cryestudio.systeme.io/free-resources
Print Prep Checklist for Adobe InDesign — https://cryestudio.systeme.io/free-resources
Project Brief Template — https://cryestudio.systeme.io/free-resources