
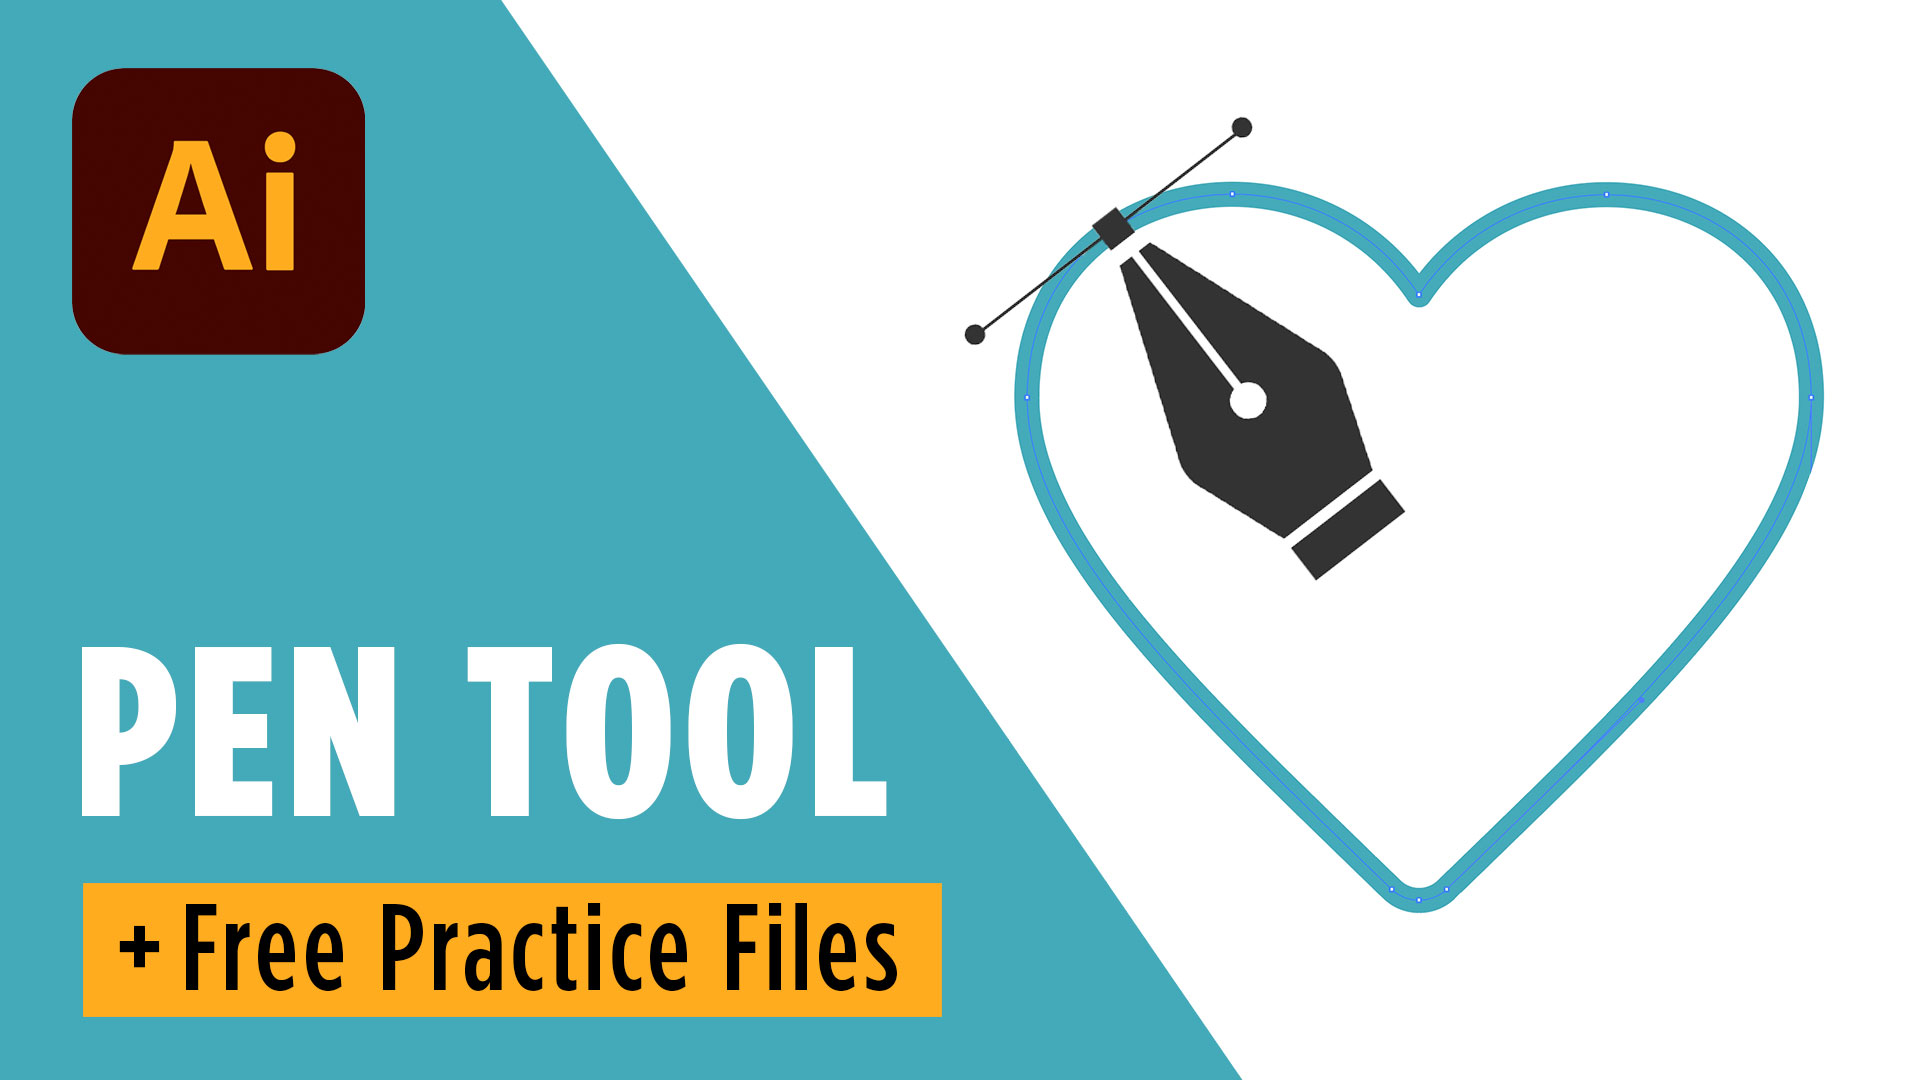
If you’re ready to master one of the most powerful tools in Illustrator, you’re in the right place.
Download the free practice files here →
Try Adobe Illustrator free →
The Pen Tool has a reputation for being intimidating. If you’ve ever clicked around the screen wondering why your lines aren’t behaving the way you expected, you’re definitely not alone. Nearly every designer struggles with it at first.
The good news? Once you understand a few simple concepts, the Pen Tool starts to make sense. Better yet, it becomes one of the most valuable skills you can learn in Adobe Illustrator.
How to Use the Pen Tool in Adobe Illustrator
Learning How to Use the Pen Tool in Adobe Illustrator starts with understanding one simple idea: you’re connecting points.
Every click creates an anchor point, and Illustrator connects those anchor points with paths. Instead of trying to “draw” like you would with a pencil, you’re building shapes one point at a time.
This shift in thinking makes the Pen Tool much easier to understand.
The best place to begin is with simple shapes made entirely of straight lines. Practice tracing stars, rectangles, and lightning bolts before worrying about curves. These exercises help you build confidence while learning how anchor points work.
Another helpful tip is to hold the Shift key while drawing straight lines. This constrains your lines to perfect 45° and 90° angles, making it much easier to create clean, professional-looking artwork.
Drawing Smooth Curves Without Frustration
Curves are where most beginners get stuck.
Fortunately, there are two simple ways to approach curved shapes.
The first method is to click and drag as you create each anchor point. Dragging creates direction handles that control both the direction and strength of the curve. You don’t need to make every curve perfect on the first try—you can always adjust it afterward.
The second method is even easier for many beginners.
Instead of worrying about curves immediately, simply click around the shape to place your anchor points first. Then switch to the Anchor Point Tool and convert those corners into smooth curves afterward.
Many new Illustrator users find this approach much less stressful because it separates drawing from editing.
Remember: perfection isn’t the goal. The goal is getting the basic shape onto the artboard before refining it.
Use Fewer Anchor Points for Better Results
One of the biggest mistakes beginners make is using too many anchor points.
It feels natural to click constantly around every curve, but doing so actually makes shapes harder to edit and often produces bumpier lines.
Instead, try using as few anchor points as possible.
For example, an eye shape only needs two anchor points to create each outside curve. A circle can often be built with just four carefully placed points.
Fewer anchor points give Illustrator smoother curves and give you much more control when making adjustments later.
As you practice, you’ll naturally begin recognizing where anchor points belong instead of placing them everywhere.
Adjusting Your Shapes Like a Professional
Drawing is only half the process.
Once your path is complete, switch to the Direct Selection Tool (the white arrow) to fine-tune individual anchor points and direction handles.
This is where your artwork really comes together.
You can lengthen handles, shorten curves, reposition anchor points, and smooth out uneven areas without starting over.
Don’t forget that Illustrator also lets you add or remove anchor points whenever you need them. Hover over a path with the Pen Tool to add points, or hover over an existing anchor point to remove one.
These small adjustments can make a huge difference in the final result.
Practice Is the Secret
If there’s one takeaway from learning How to Use the Pen Tool in Adobe Illustrator, it’s this:
Everyone struggles with it in the beginning.
Professional designers aren’t successful because they’re naturally good at the Pen Tool—they’ve simply spent more time practicing.
Tracing simple objects like stars, hearts, speech bubbles, and basic icons is one of the fastest ways to improve your accuracy and confidence.
The more shapes you trace, the more intuitive the Pen Tool becomes.
Before long, you’ll find yourself creating custom logos, illustrations, and icons with much more precision than you ever thought possible.
Ready for the Next Step?
Once you’re comfortable with the Pen Tool, you’ll be ready to explore even more Illustrator features like Image Trace, Shape Builder, and Pathfinder—all tools that work incredibly well alongside the Pen Tool.
If you’d like to keep learning, be sure to download my free Illustrator practice files, explore my free design resources, or try Adobe Illustrator free using the links below. They’re a great way to continue building your skills and creating professional vector artwork with confidence.