If you’ve ever opened a project and suddenly seen diagonal stripes in Adobe Premiere Pro, it can be pretty alarming. Your clip might appear black in the timeline, the preview monitor shows nothing, and it looks like something is seriously broken.
The good news? This issue is usually easy to fix once you know where to look. In this guide, I’ll walk you through the exact method I use to repair striped clips so your footage works normally again.
Before we jump in, here are a few helpful tools many designers and creators use when working with video and design projects.
☕️ Start your 7-day free Adobe Creative Cloud trial → https://adobe.prf.hn/click/camref:1101lKN6K
📺 Watch the full tutorial here
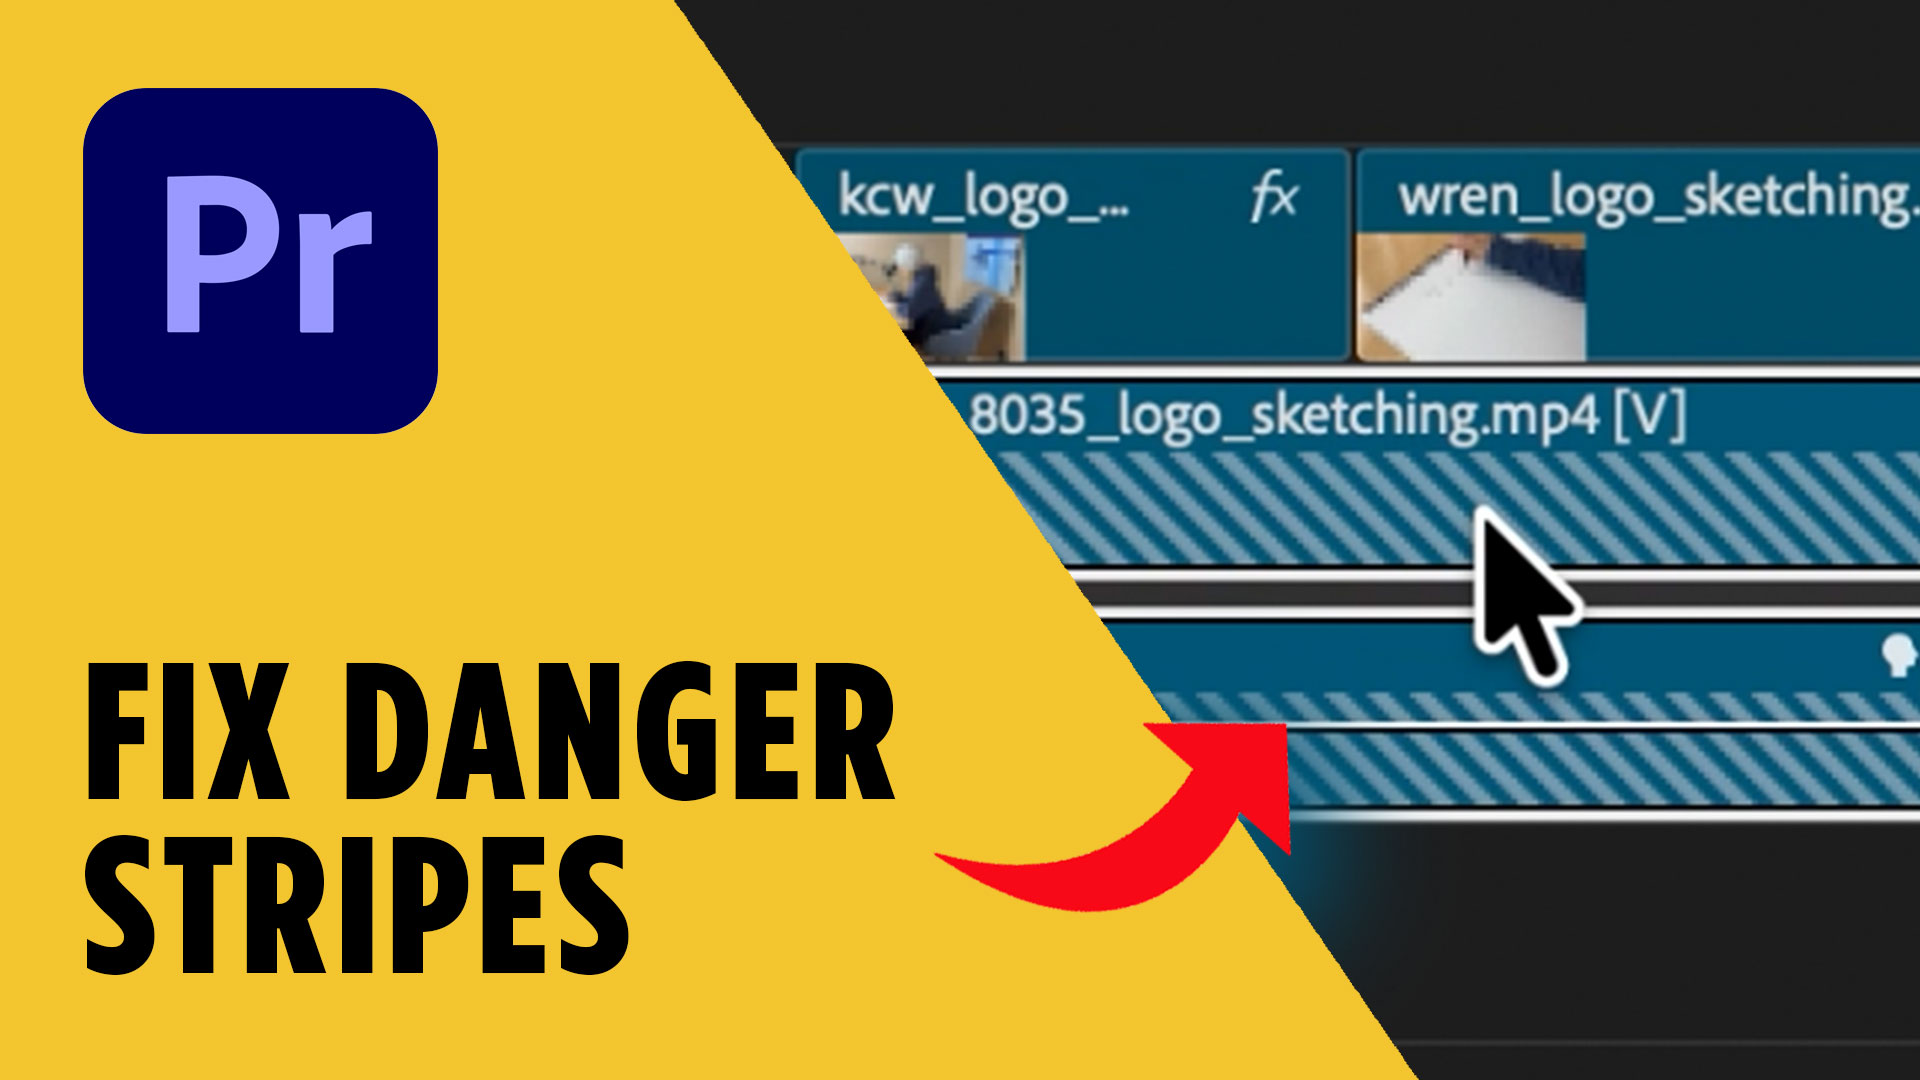
Why You See Diagonal Stripes in Premiere Pro
When you see diagonal stripes in Adobe Premiere Pro, it usually means the clip in your timeline is no longer properly connected to the source media.
This can happen when you replace footage, rename files, or move media around on your computer. Even if the replacement clip has the same name, Premiere Pro sometimes fails to reconnect it correctly.
The result is that some clips show normally, while others display diagonal warning stripes.
You may also notice that the preview monitor turns black when you move the playhead over the striped clips. That’s Premiere’s way of telling you something is wrong with the reference to that media.
Thankfully, the fix is built directly into Premiere Pro.
How to Fix Diagonal Stripes in Adobe Premiere Pro
Here’s the exact process to fix diagonal stripes in Adobe Premiere Pro.
First, locate the striped clip in your timeline. This will be the clip showing the diagonal pattern instead of your footage.
Right-click on that clip.
From the menu, choose Reveal in Project.
This will jump to the Project panel and highlight the media file associated with that clip.
At this point, you’re confirming that the file still exists inside your project bin. In many cases, the file is still there — it just needs to be reassigned correctly.
Next, go back to the striped clip in the timeline.
Right-click again.
Then select Replace with Clip from Bin.
Premiere will reconnect the timeline clip with the file in your project panel. In most cases, the diagonal stripes will disappear instantly and your footage will return.
It’s a simple fix, but one many editors overlook.
Fix Multiple Striped Clips at Once
If your project contains several broken clips, don’t worry — you don’t have to repair them one at a time.
Premiere Pro allows you to fix multiple clips simultaneously.
Hold Shift and select all the striped clips in your timeline.
Then right-click on any of the selected clips and choose Replace with Clip from Bin again.
Premiere will reconnect all of them in one step.
This is especially helpful if you replaced footage across a long project and several clips became disconnected.
Instead of spending minutes fixing each one individually, you can repair them in seconds.
What Causes This Premiere Pro Issue?
There are a few common situations that trigger diagonal stripes in Adobe Premiere Pro.
One of the most frequent causes is replacing footage with a new file that has the same name but isn’t recognized properly by Premiere.
Another cause is moving files outside of Premiere after the project has already been created.
When Premiere can’t correctly verify the media reference, it may display the striped placeholder pattern.
While this can be frustrating, it’s usually not a serious issue. The original media typically still exists — Premiere just needs to reconnect it.
Tips to Prevent This in Future Projects
While this problem is easy to fix, it’s still helpful to prevent it when possible.
Here are a few best practices:
• Avoid renaming video files after importing them into Premiere
• Keep your project media organized in consistent folders
• Replace clips directly within Premiere when possible
• Avoid moving project media outside the program
Following these habits reduces the chance of broken clip references.
Final Thoughts
Seeing diagonal stripes in Adobe Premiere Pro can look scary at first, but in most cases it’s a quick fix.
By revealing the clip in your project panel and using Replace with Clip from Bin, you can reconnect your footage in just a few clicks. Even better, you can repair multiple clips at once.
If you’re learning design, video editing, or creative workflows, make sure to check out the free resources above.
They include templates, checklists, and tools that can help you work faster and avoid common mistakes.
You can also explore more tutorials and download free design resources at CryeStudio, or try the recommended tools to improve your creative workflow.